

Posted by Nexgen Outfitters on Sep 18th 2025
How To Build AR15: Step-by-Step Guide
Building your own AR-15? Yeah, it can feel like diving into the deep end of a pool when you’re not quite sure if there’s water or just cement below. But don’t fret—we’ve distilled the process into manageable steps to help you pick the right parts and piece them together with confidence. Whether you’re scoping out a budget build, gearing up for hunting gear, or crafting a custom precision rifle, we’ve got you covered.
Understanding the AR-15 Platform
The beauty of the AR-15 lies in its modularity, offering a playground of customization. This baby adapts effortlessly, from hunting woods to precision ranges or home defense. The question is: what’s your mission? Because your AR-15 should fit like a glove for what you need it to do.
Anatomy of an AR-15
Let’s break it down simply. The AR-15 is basically two main halves: the upper receiver and the lower receiver. The lower receiver is the heart—serialized and housing critical parts like the trigger group and magazine well. The upper receiver carries the barrel, bolt carrier group, gas system, and charging handle. It’s where all the mechanical magic happens.
Upper vs. Lower Receivers
Here’s a nugget: the lower receiver is your legal firearm, the piece the ATF watches closely. But the upper receiver? Swap it out like socks—different calibers, barrel lengths, even gas systems. That’s why the AR platform is so versatile, letting you pivot on a dime without buying a whole new complete rifle. And if you want to explore guns and ammo options, Nexgen Outfitters has a wide selection to complement your build.
Legal Considerations Before Starting
Before rolling up your sleeves, check your local laws—no cutting corners here. Buying a lower receiver involves legal dances like background checks and compliance. Building without knowing the law is like walking blindfolded—potentially costly. So, you’ve got to know the regulatory landscape before you start.
Essential Tools and Preparation
Prep is key. Having the right tools might not be glamorous, but trust us, without them, you’re setting yourself up for frustration.
- Armorer’s wrench, roll pin punches, vice block—these are your best friends.
- Don’t forget lubricants and grease; parts won’t slide or click together smoothly otherwise.
- Set up a dedicated workspace that’s safe, clean, and well-lit.
Choosing Your AR-15 Parts
Lower Receiver
Decide between stripped and complete lowers. Stripped gives you the hands-on build thrill, complete lowers are good when you want to skip ahead.
Material matters—billet vs. forged. Both have merits; billet is often more aesthetically pleasing, forged is battle-tested robust.
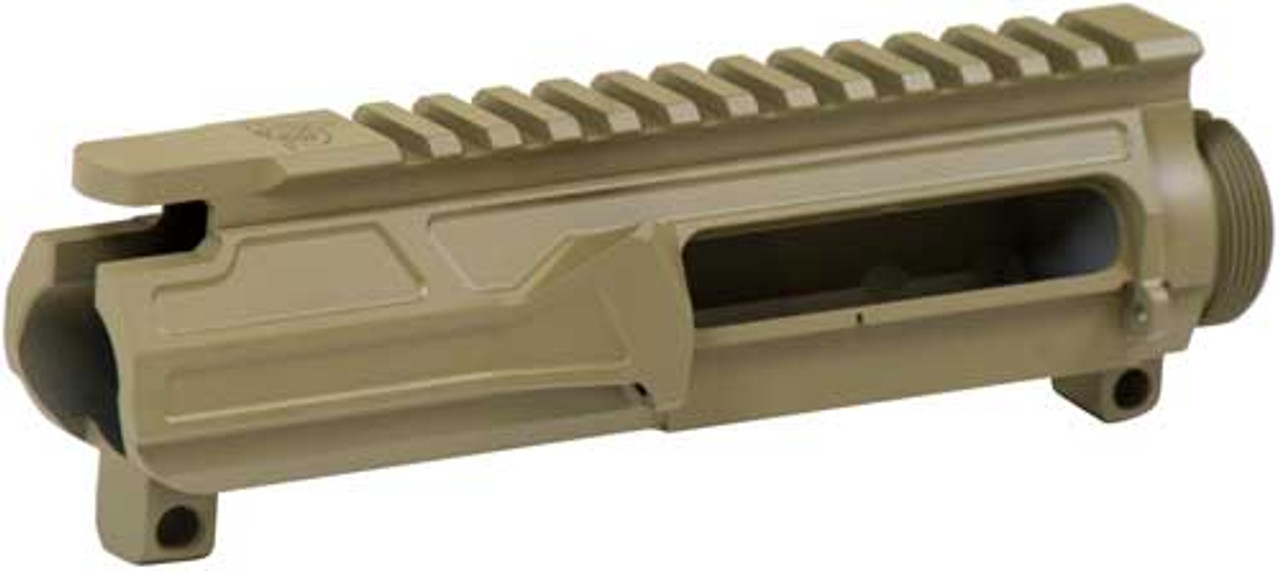
Upper Receiver
Options abound: stripped or assembled. Make sure you pick one compatible with your handguards.
Caliber & Barrel
5.56 NATO/.223 is popular and widely chosen for a reason, but the AR platform supports a wide array of calibers—from small varmint rounds like .17 to heavy hitters like 50 Beowulf.
Note: Regarding barrel length, a 16” barrel is a common starting point. If you go under 16", be aware you are now dealing with a pistol or a Short Barreled Rifle (SBR), and it’s important to know the legal and functional differences.
Gas Systems
Gas system length impacts recoil and cycling. Common styles include pistol, carbine, mid-length, rifle, and rifle XL gas systems. Adjustable gas blocks offer tuning capabilities to optimize performance and reliability according to your setup.
Muzzle Device
Choosing the right muzzle device depends on your shooting environment and recoil tolerance. Flash hiders help reduce visual signature; muzzle brakes cut recoil and muzzle rise. While suppressors are valuable accessories, they fall under specialized regulations and are best considered separately.
Handguard
Free-float vs. drop-in handguards have different impacts on accuracy and customization. M-LOK, Picatinny, KeyMod—pick your flavor for mounting lights, lasers, or backup iron sights, all common accessories in the hunting gear world.
Bolt Carrier Group (BCG)
Don’t skimp here. Go for reliable finishes that withstand the heat and keep your rifle running smooth.
Charging Handle
Mil-spec charging handles work fine, but ambidextrous models offer practical advantages—for left-handed shooters, mounting optics that may obstruct traditional handles, and scenarios requiring rapid reloads.
Lower Parts Kit (LPK)
Trigger choices: mil-spec triggers meet the baseline, but upgraded ones can sharpen your shot. Ergonomics count—grips and trigger guard should feel natural.
Buffer Kit & Stock
Buffer weight affects cycling. Carbine buffers are typical, heavy buffers tame recoil. Adjustable stocks? They’re great if you want to dial in your fit or swap shooting positions quickly.
Step-By-Step Assembly
Building the Lower Receiver

- Start with the trigger group installation—take your time here.
- Attach the trigger guard.
- Install the magazine catch and bolt catch.
- Safety selector and grip come next.
- Rear takedown pin? Don’t lose it.
- Finally, add the buffer tube and stock—receiver extension and all.
Building the Upper Receiver
- Barrel installation comes first—with the barrel nut informing everything else. Don’t forget the barrel extension and gas tube with your gas block—adjustable gas blocks give you tuning options.
- Attach the handguard securely.
- Screw on your chosen muzzle device.
- Drop in the bolt carrier group and charging handle.
Function Checks and Safety
- Before you get trigger happy, conduct a headspacing check. Sounds fancy, but it’s vital for safety.
- Do basic function testing—make sure your takedown pin and pivot pin work smoothly.
- Lubricate parts generously; a well-lubed rifle is a happy rifle. Break it in gently to avoid wear issues.
Recommended Accessories
- Optics like red dots or scopes are more than eye candy—they improve accuracy, and you can find a great selection of optics at Nexgen Outfitters.
- Slings help when you’re out in the field all day, gear you might find among hunting gear.
- Weapon lights can make or break low-light engagements.
- And never underestimate backup iron sights—when electronics fail, they’ve got your back.
Budget vs. Premium Builds
Not everyone needs a high-dollar build, and honestly, you can shoot well with affordable parts. But if precision and performance are your game, investing in better gas blocks, barrels, and bolt carrier groups pays dividends.
Final Thoughts
Building your own AR-15 isn't just assembling parts; it's crafting a personalized tool tailored to your needs. Yes, challenges arise—time constraints, learning curves, and sometimes that pesky roll pin refusing to cooperate. But that’s part of the journey.
We’ve seen clients’ faces light up after their rifle assembled successfully; it’s that pride and confidence that money can’t buy. Experiment, tweak your gas system, try different barrel lengths, or swap out a muzzle device.
Remember, an AR-15 is more than a rifle—it's a reflection of you. So take your time, be safe, and enjoy every click, twist, and pull. Your perfect rifle is just a build away. And hey, if you love the outdoors, don’t forget to check out our camping gear and archery supplies for your next adventure.