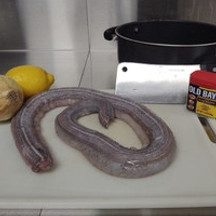
Posted by J. Nesbitt on Jun 1st 2025
Rattlesnake Cooked Two Ways - Cooking what you harvest
Yep, we cooked a rattlesnake as one our traditional Wild Game Wednesday lunches. And before there is a slew of comments about whether rattlers should be killed or not, let me say that at Nexgen Outfitters we are 100% committed to conservation playing a critical role in balancing an ecosystem. We also very much enjoy our role on top of the food chain, and so we will eat almost everything that we kill. And finally, this guy was frequenting the street near our shop (come see us at Nexgen HQ on Highway 385 in Sidney, NE). So, before he had a bad encounter with a customer or ended up pancaked under a tire, “Moose” kept him in play and “Q” took one quick stab with the shovel for the harvest! And as luck would have it, it was a hot summer Tuesday with no plans yet for the next day’s wild lunch!
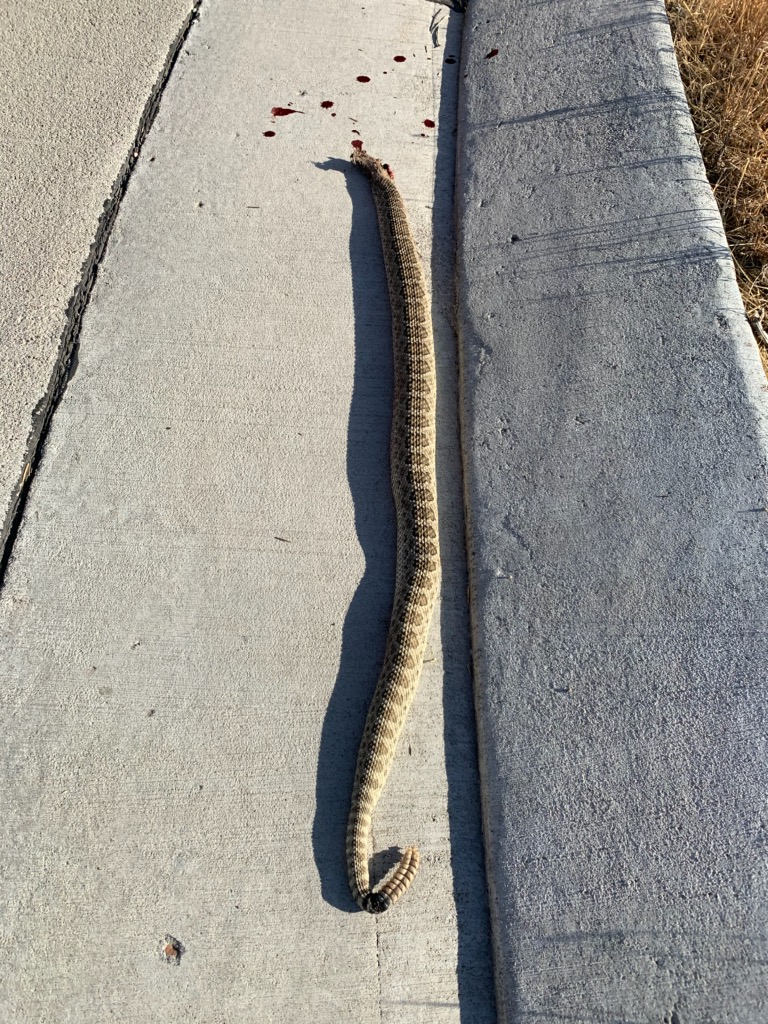
There is not a lot of magic surrounding the skinning and gutting of a snake except to say, MAKE SURE THE HEAD IS OFF AND GONE! As we worked on loosening the skin around the “neck area” and then began to pull the skin off toward the buttons, it was common for the snake to continue a LOT of movement and even “strike”. So again, please please DO NOT consider a mangled head good enough and end up in a bad accident. There are tons of methods to split, save and display the skin, so if your rattler is a “wall hanger” take some time to do your research and include on your trophy wall. Or for a $5.00 way to scare your friends (although they won’t be for long), leave the skin as a tube and fill with expanding foam. You will have to come up with the position for your booby trap as you fill it up, because there’s not any time to adjust before the foam sets! But now we're way off topic.
The entrails came out easy enough in one pull after splitting the belly right down the center line from neck to vent. Be aware that the muscular organs (like mainly the heart) could still be functioning. We took plenty of time to pull off any remaining membrane and wash thoroughly under cold water. When we had it cleaned appropriately it felt wet but not slimy. At this point you can vac seal and save in the freezer for the perfect set of dinner guests, or in our case we refrigerated in salt water overnight.
Since this was going to be a first for all of us at Nexgen, we didn’t want to pin ourselves down with only one recipe while also making sure the flavor of the snake came through however we ended up preparing it.
Recipe #1 – Snake Cakes
A little research seemed to suggest that our snake would lend itself well to a long gentle boil, after which the meat would shred or flake off the bones easily.The white meat cooked this way should be firm but flaky and seemed like a great fit for a crab cake approach…or snake cake.
Recipe:
- ½ our Nexgen Mega Rattler
- 1 Onion
- 1 Lemon
- 2 Cloves Garlic
- 1 Tablespoon Old Bay
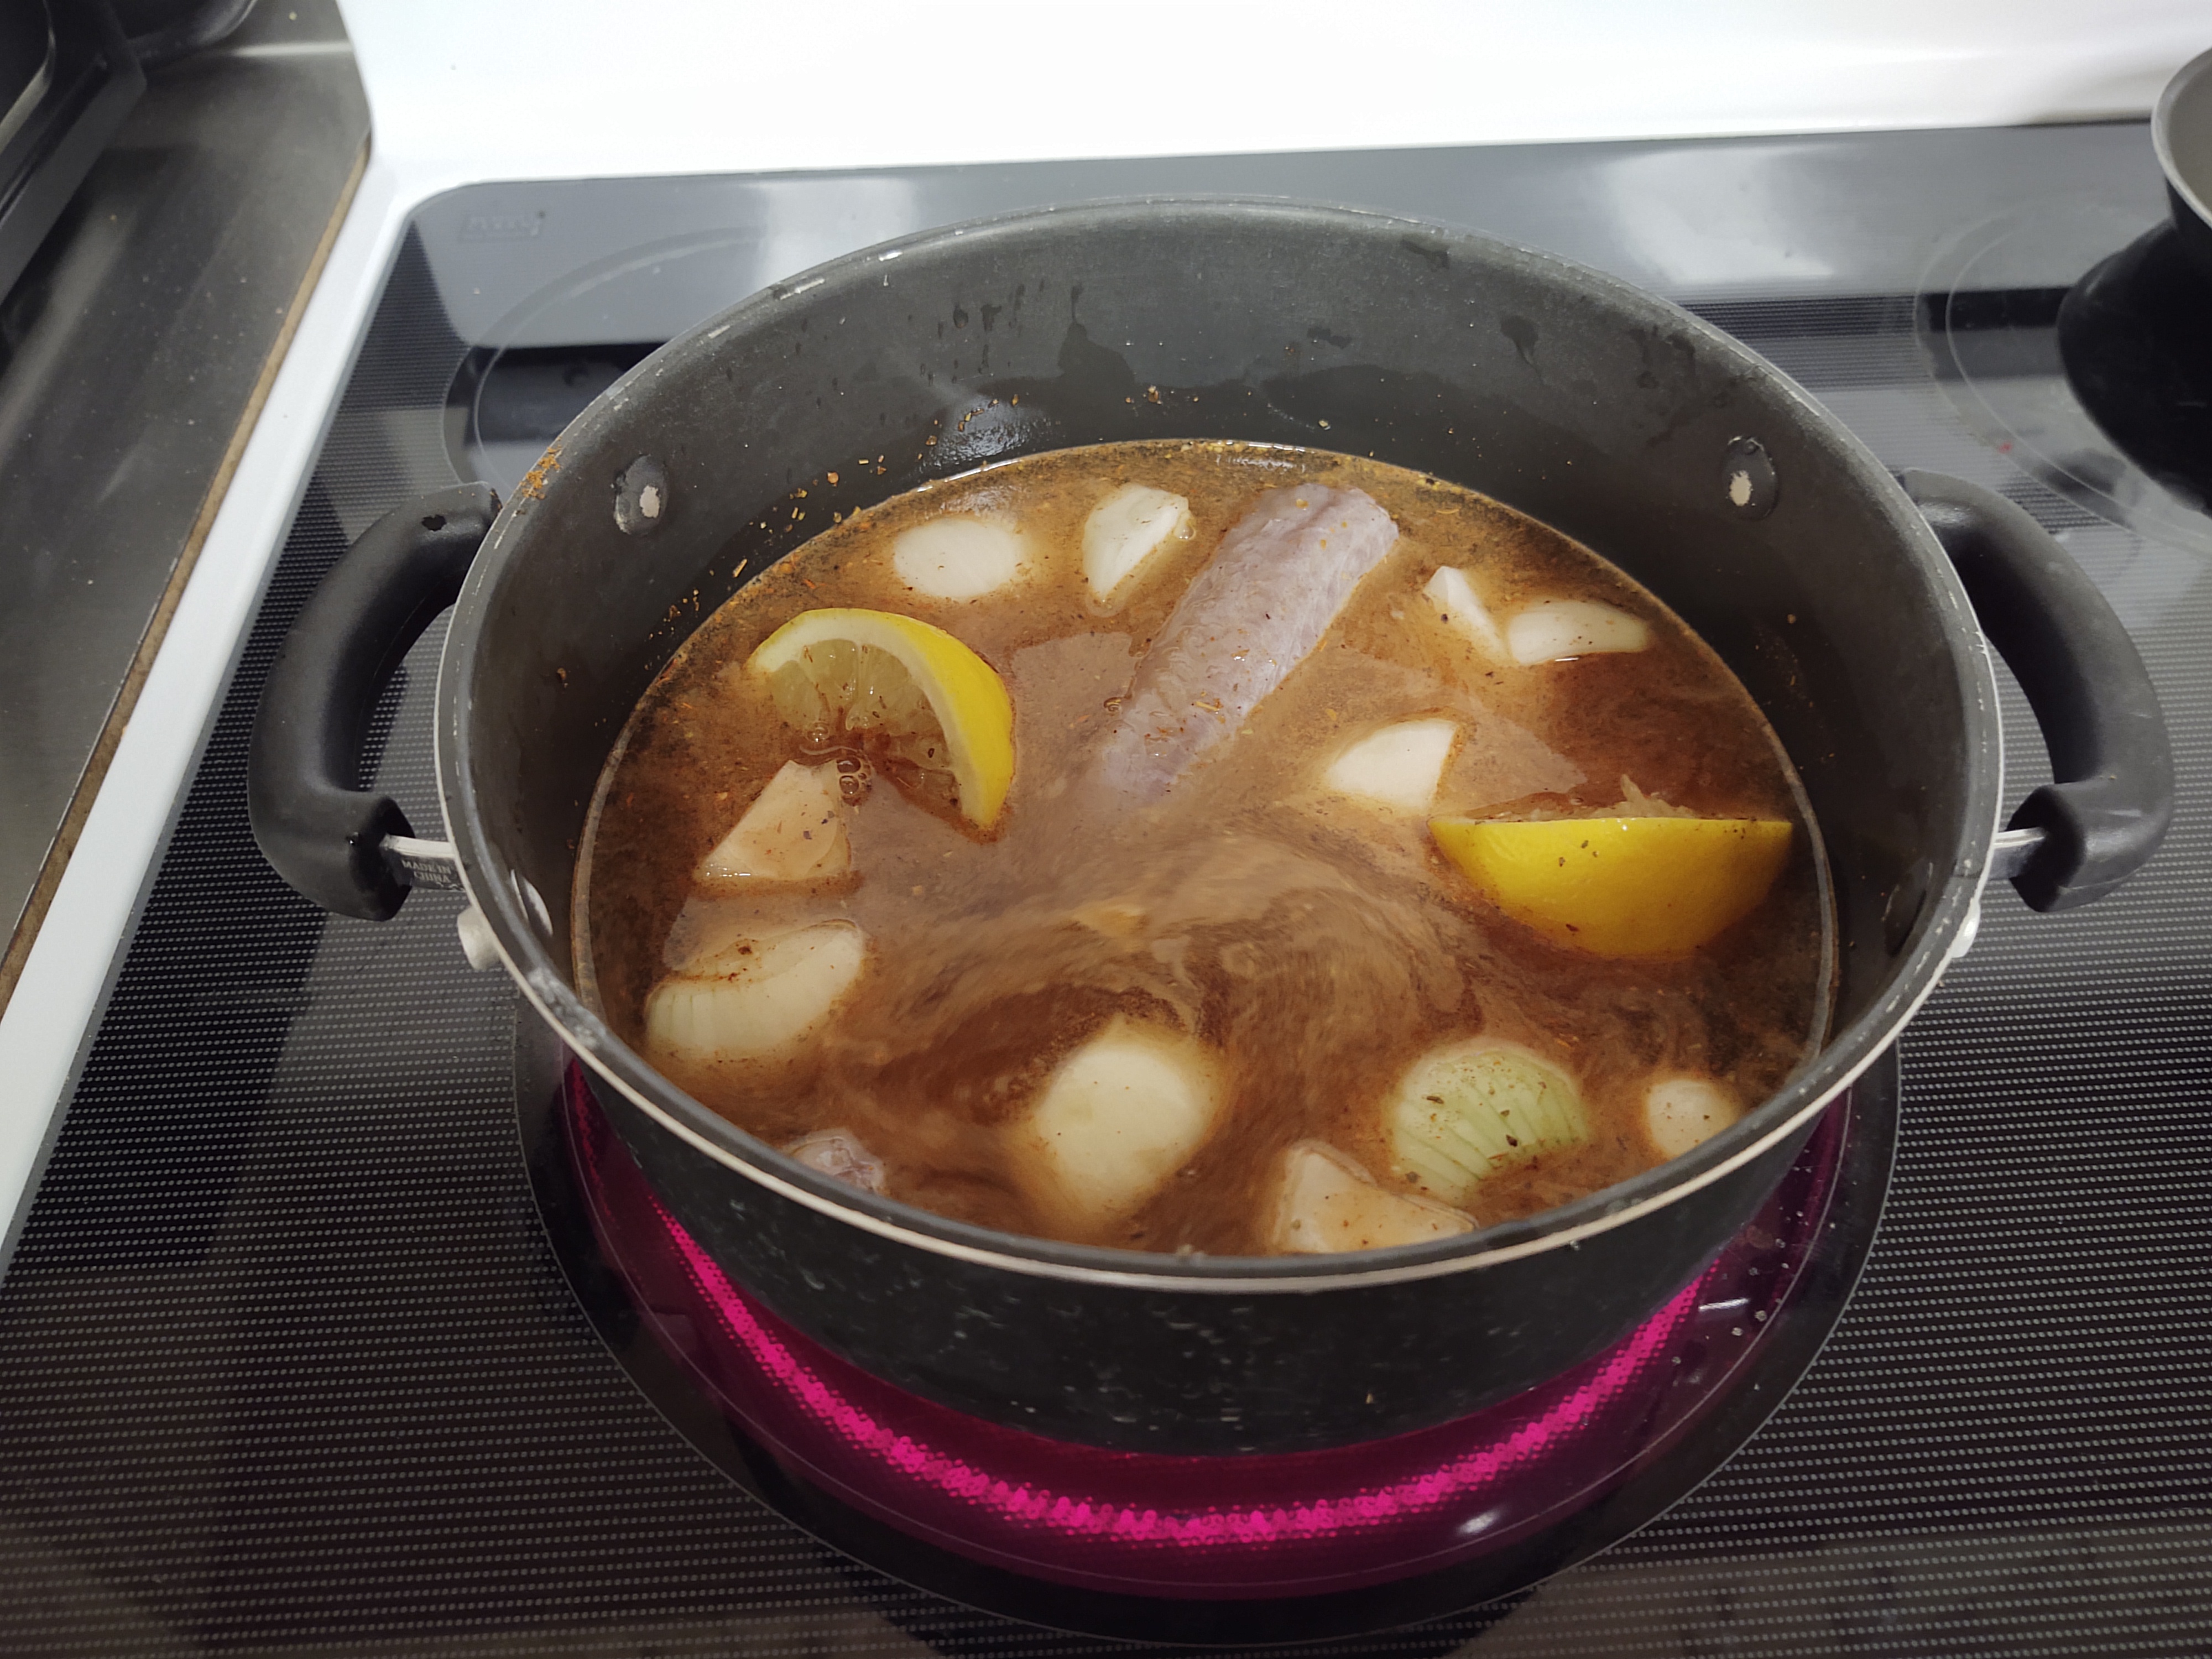
Chop the snake into about 4-inch chunks so it doesn’t curl up and stick out of the water during cooking. Throw one quartered onion, one halved lemon, two crushed garlic cloves and the Old Bay seasoning all in a soup pot with the snake and enough water to cover everything. Put on the lid and simmer gently for at least an hour (ours was about 80mins).
Fish the meat chunks out of the water and let cool for a few minutes. Pull the meat from the bones being careful to leave the bones intact so there are no surprises in the cakes. There are also 3 strands of firm meat running down each side of the backbone, which pull off and flake apart easily. We quickly compared them to the tenderloins coming from more familiar butchering projects and are the first place to start sampling. As cliché as it sounds, the meat actually has the taste and texture of chicken even more than ANY other wild game that you have been told “tastes like chicken”. This ended up producing about a cup and a half of white, flaky, boneless meat.
I should also mention that at this point the seasoned water smelled so good that it crossed our minds to strain the liquid and add the boneless meat back for soup, maybe even with some supplemental sausage. But soup and summer don’t fit together in our book, so we stuck to the plan.
- 1 egg
- ~1/2 cup Mayo
- 1 Teaspoon Old Bay seasoning
- Favorite Hot Sauce to Taste
- ½ Teaspoon Garlic Powder
- 1 small Onion finely diced
- Salt and Pepper to taste
- ~2 cups Breadcrumbs (we had a box of cornbread stovetop stuffing in the cupboard so decided to use that)
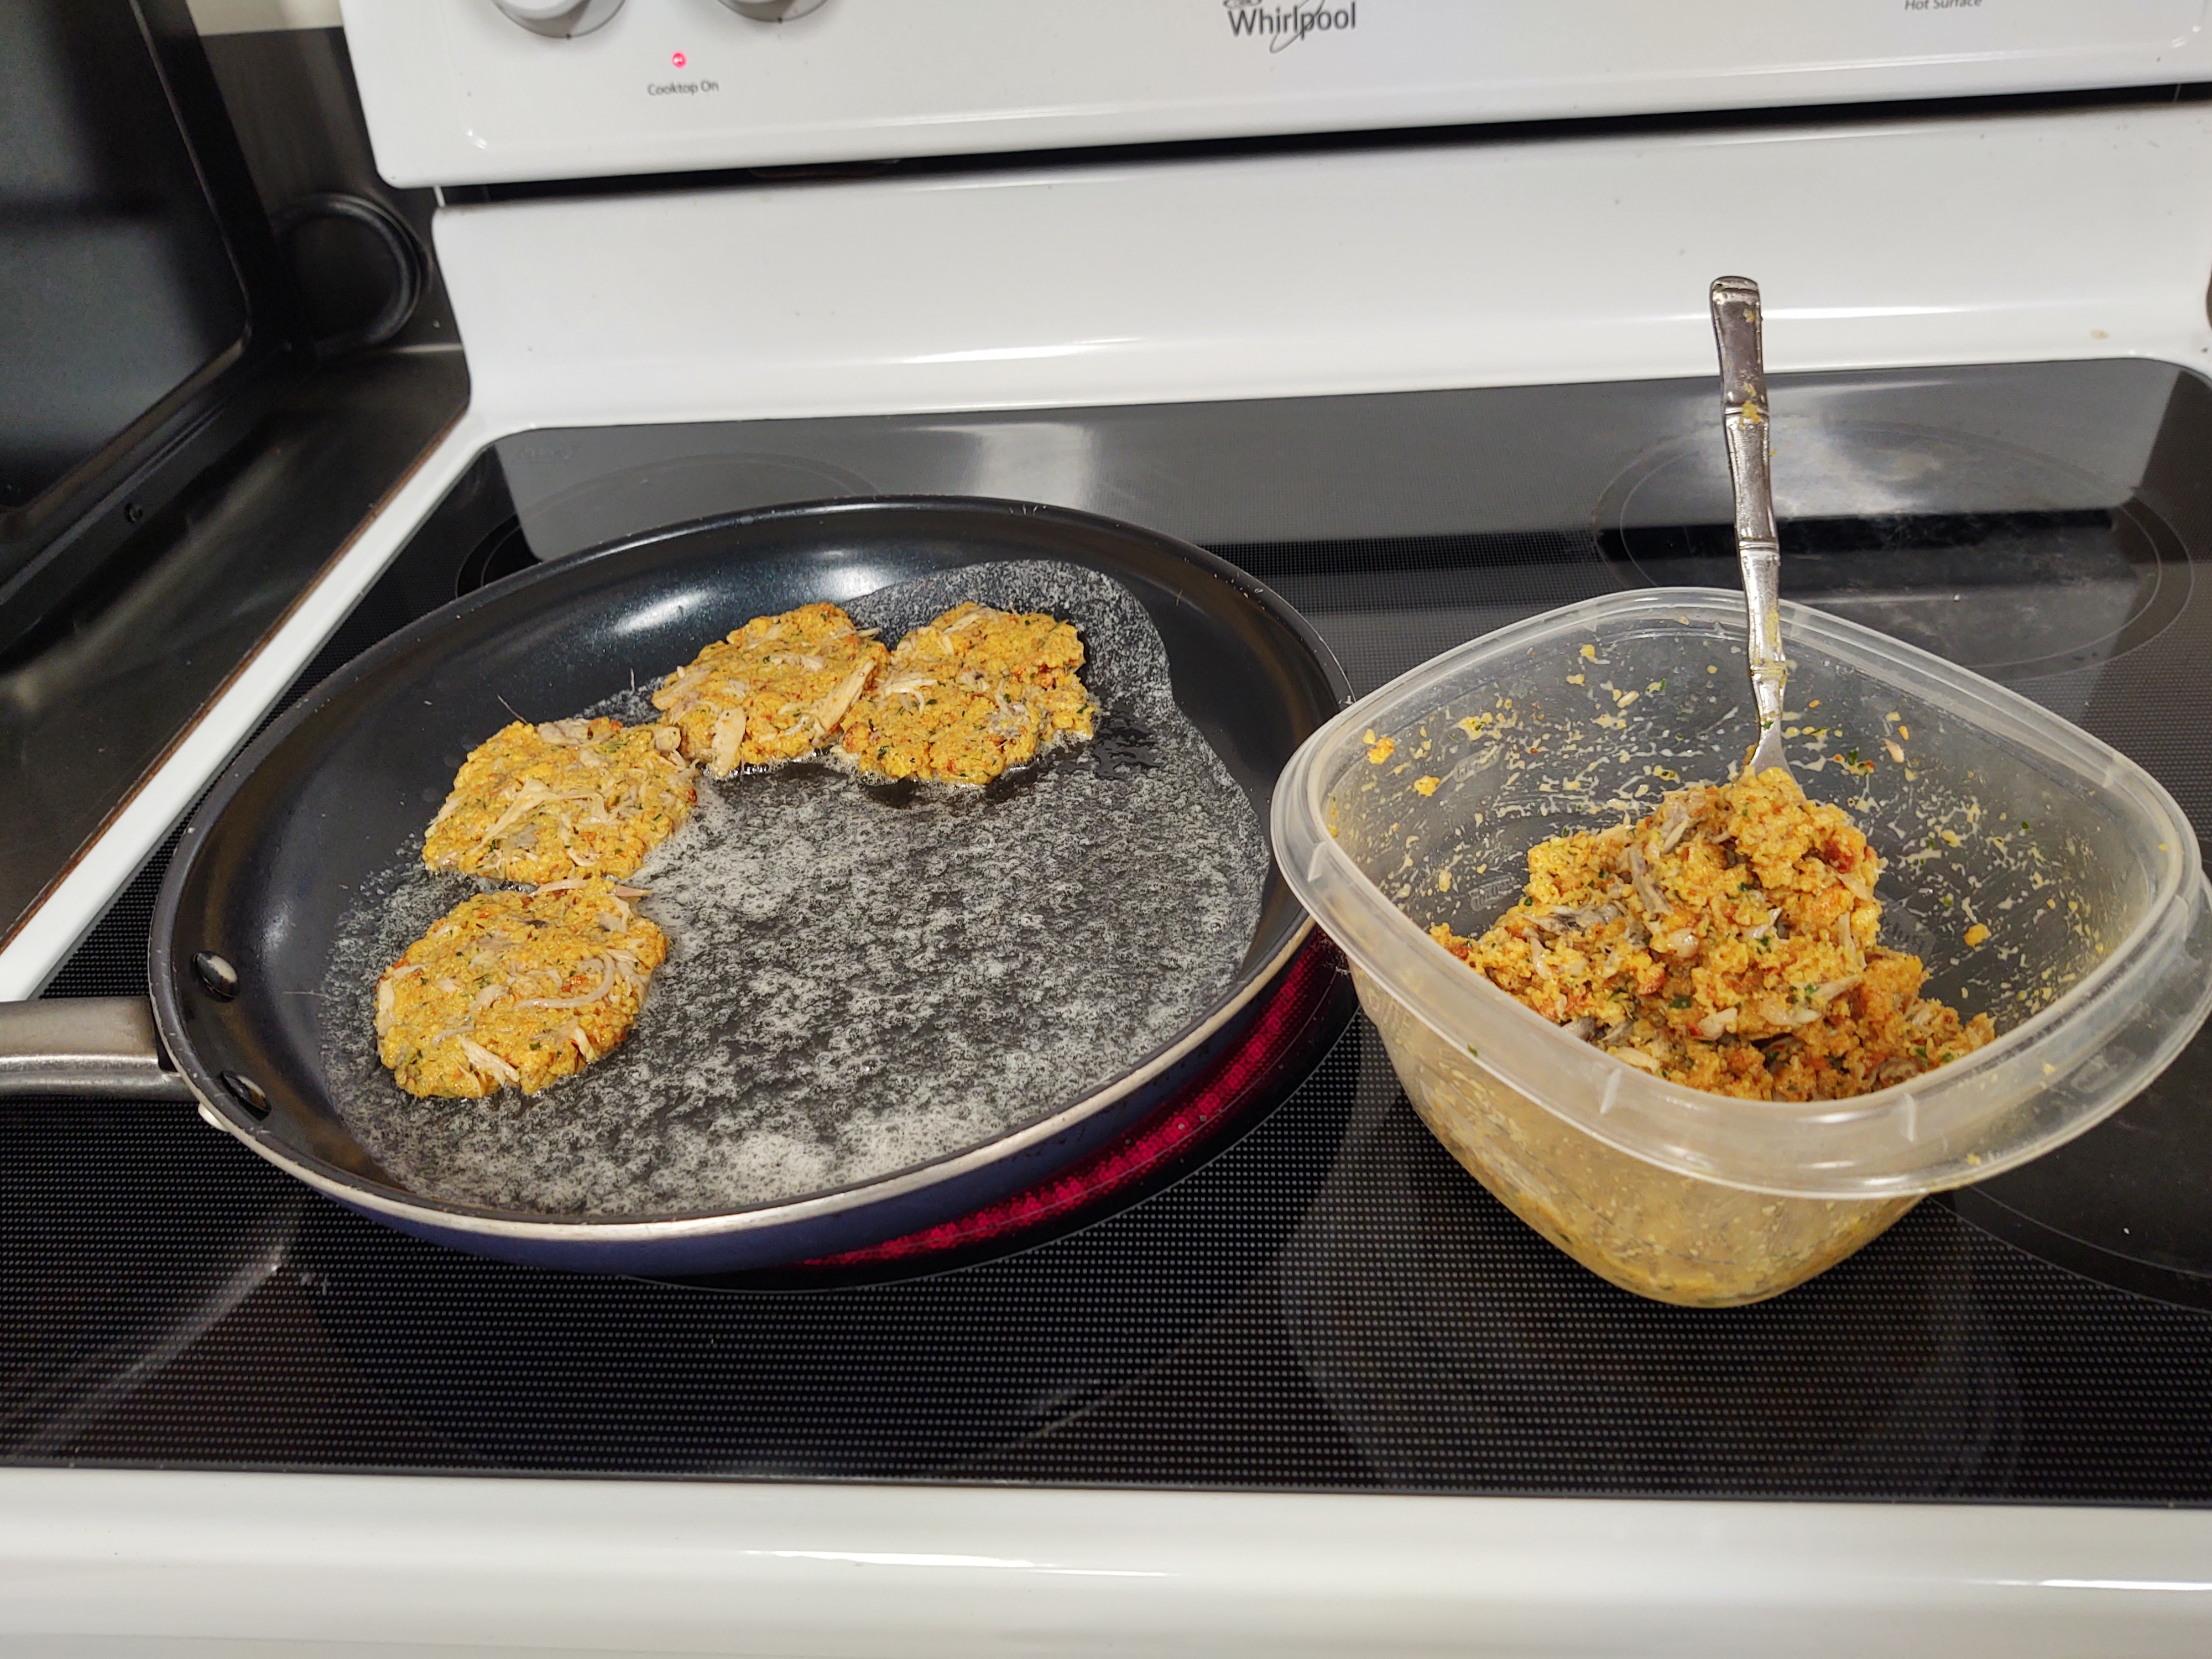
Combine all these ingredients in a mixing bowl until the breadcrumbs are soft, and the mixture sticks together. Fold in the snake meat depending on personal preference of your presentation. We wanted to see the flakes of meat in the cakes so we barely folded enough to incorporate the meat, but it could also be mixed vigorously so not distinguishable after cooking. Form about ½ cup of the mixture into a 2½ - 3-inch circle about ½ inch thick; we ended up with 10 cakes.
Fry the cakes for about 3min per side in your favorite pan lube. Butter is an excellent choice, and we tempered ours with a little canola oil to prevent the butter from browning.
The verdict: Don’t use stuffing mix. While the cakes were tasty, the seasoning we used plus the seasoning already in the stovetop mix overpowered the flavor of the snake. So, for us if there is a next time, we’ll use plain crumbs or cubes of bread. Oh, and remember the step to make sure there are NO bones? Oops, sorry Mike.
Recipe #2 – Grilled Snake
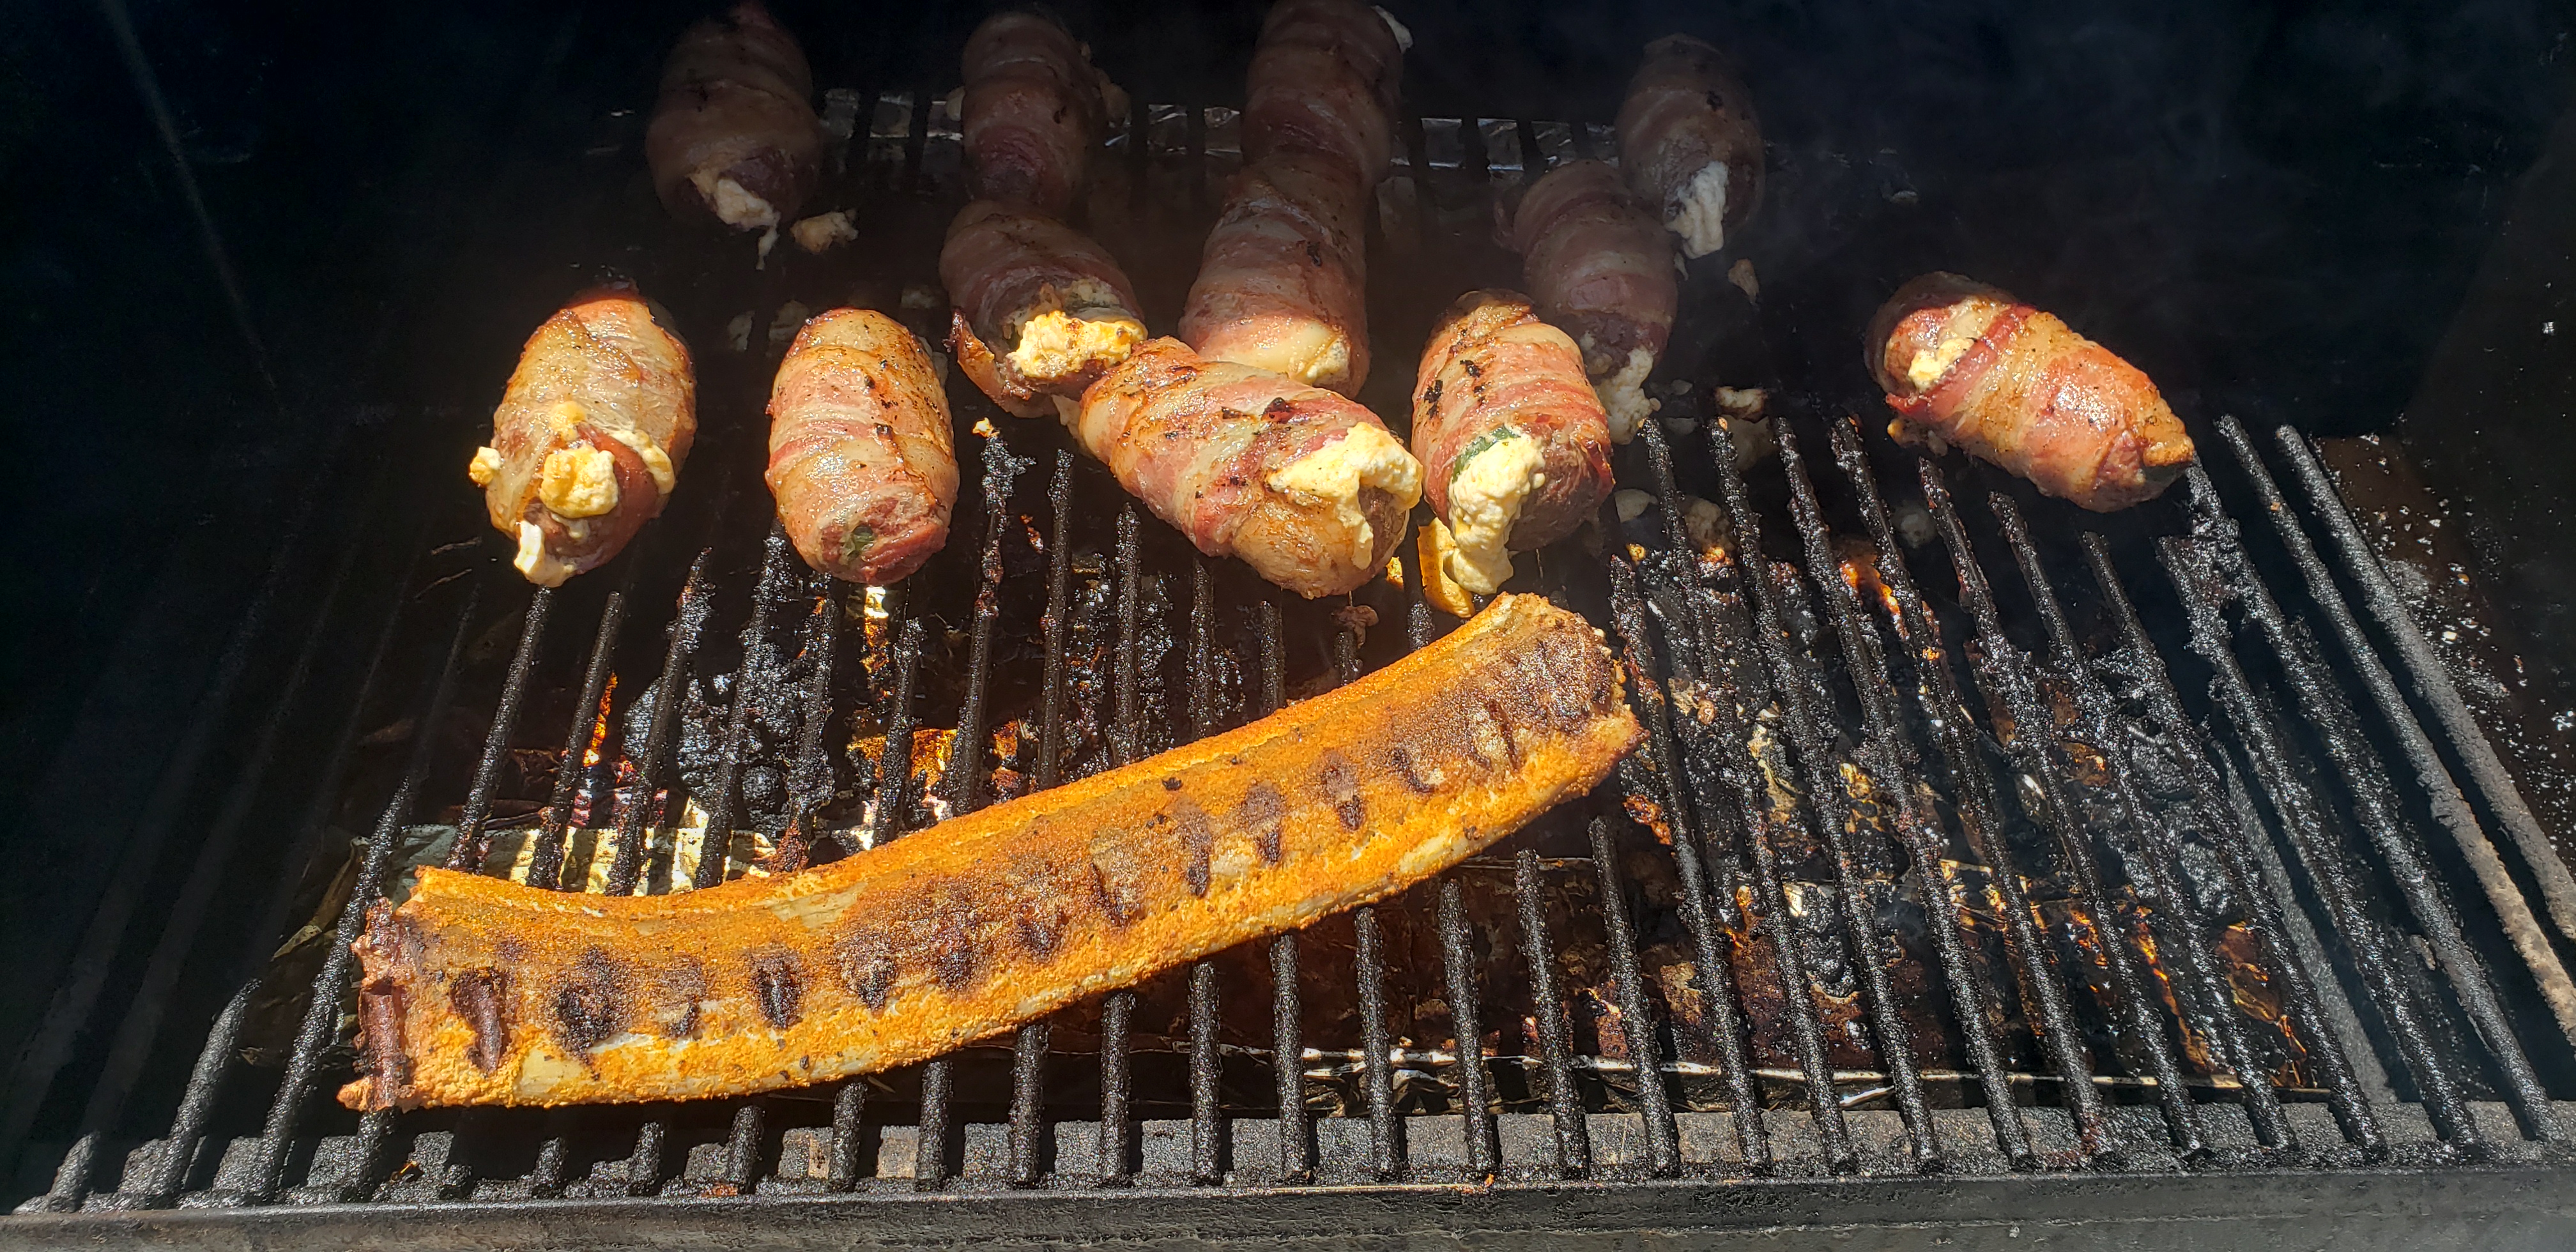
We also wanted a simple preparation method where the full flavor would shine through. Medium heat on the Traeger pellet grill seemed like a great option, and a light dusting of Bull Whip seasoning from the Weinrich’s in Casper, WY is all we applied. Our initial research indicated that snake meat is prone to salmonella, so just like turtle or chicken make sure to reach a temp of at least 165deg. There is really not a thick enough piece to insert a temperature probe, but after 30-35min at ~325deg our temperature gun read 170deg outside as well as in the body cavity.
It was at this point a Nexgen family member that will remain nameless, suggested: “You know, now that you’ve done all the work to clean and cook it up that nice….I’d take it off the grill….and throw it away! Here’s a $0.99 package of hotdogs!"
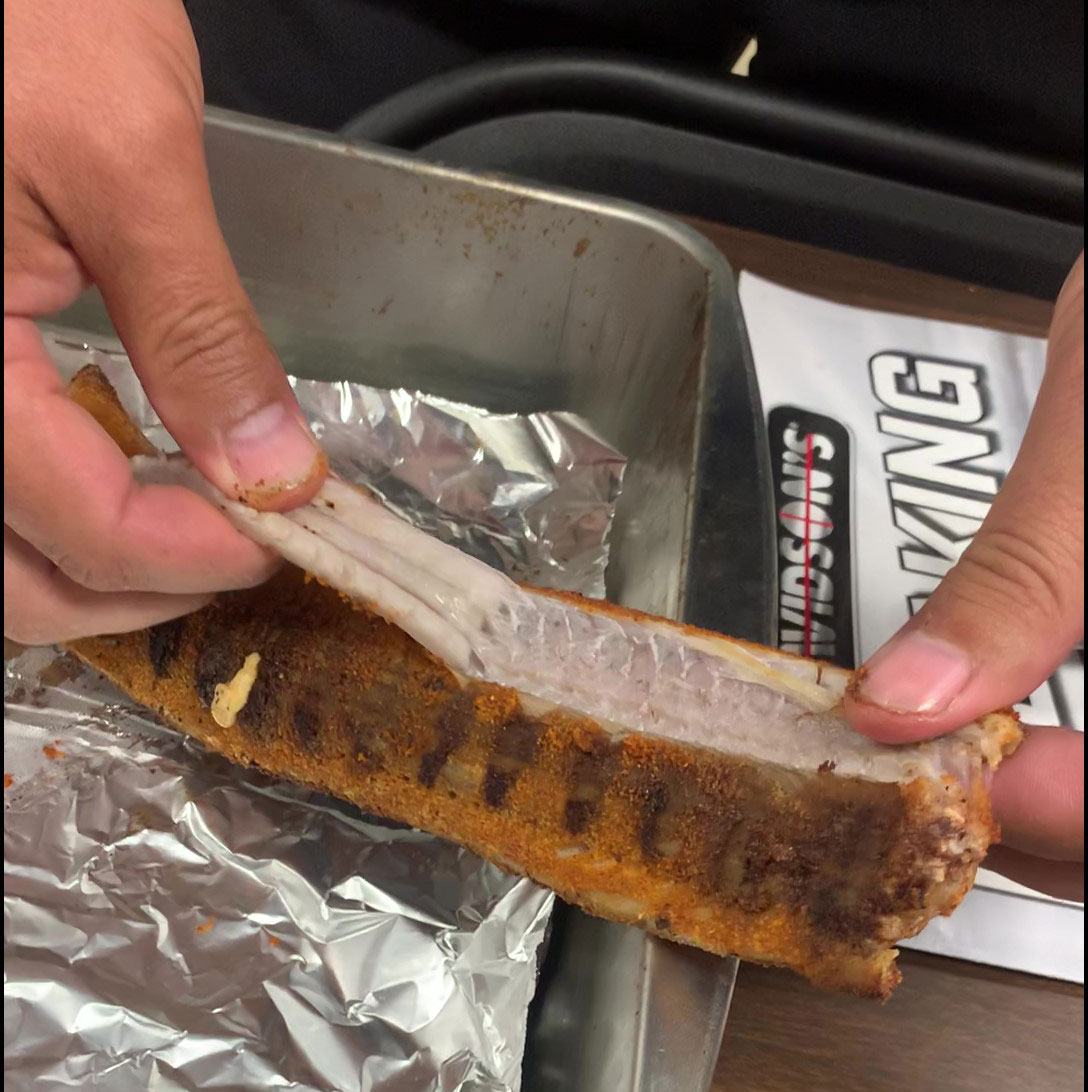
The verdict from the rest of us: Those “tenderloin” pieces that we mentioned before, pull right off the bones and are the perfect “cuts” for sampling. As we removed them it seemed like the meat may be rubbery in texture through this preparation method. However, we were pleasantly surprised at the firm but tender texture and mild flavor of the meat. Another tip for a possible next time, is the fat content is so low and flavor so mild that the seasoning can be exceptionally light (we almost over did it). For those more adventurous or wanting to prepare for their debut on Survivor, the remaining meat is best chewed right off the bone. There is enough there to make it worth the time. This method would be a great appetizer and conversation starter when prepared in ~4-inch chunks at your next barbeque with those friends that appreciate culinary exploration.
Wrapping up a lunch that started like “this is crazy-dumb!” and “what are we doing!?”, there were comments about “next time”. Both methods resulted in not just acceptable, but delicious snake meat. Our suggestion in both cases is not to overpower the flavor by using half of the seasoning used to prepare more typical wild game. And lastly, we will say it again; MAKE SURE THE HEAD IS OFF AND GONE before you begin field dressing! Let us know if you have been adventurous in the kitchen with something wild, and how did it go!?

